
Have you ever spent three hours meticulously preparing a metallographic sample—painstakingly mounting, grinding, and polishing it—only to observe it under the microscope only to find scratches, smudges, or blurred grain boundaries on the surface? You're not alone. A recent survey of materials science labs revealed that 68% of technicians reported repeating sample preparation at least twice due to preventable defects. This wastes time and can lead to misinterpretation of results or delays in critical quality checks.
Before we get into fixing the problem, let's diagnose it. Take a sample from a place you've recently had trouble with—we'll use it as a reference. Under the microscope, do you see these?
You'll notice some linear, usually parallel grooves that penetrate the microstructure. These aren't just surface issues—they obscure grain boundaries and phase distribution. What's going on?
Most technicians blame it on "coarse grit," but 70% of scratching issues stem from a speed mismatch . If the machine speed is too high and the grit size doesn't match the grit size, the particles will embed rather than cut evenly. If the speed is too low, the material won't be removed quickly enough, resulting in longer contact time and deeper scratches.
Precision is crucial: The MP-2DE's wide speed adjustment range (50-600 rpm) lets you precisely adjust the speed for each grit grade. For example, 120-grit silicon carbide sandpaper works best at 150-200 rpm, while 1μm diamond slurry requires 300-400 rpm. No more struggling with a single speed.
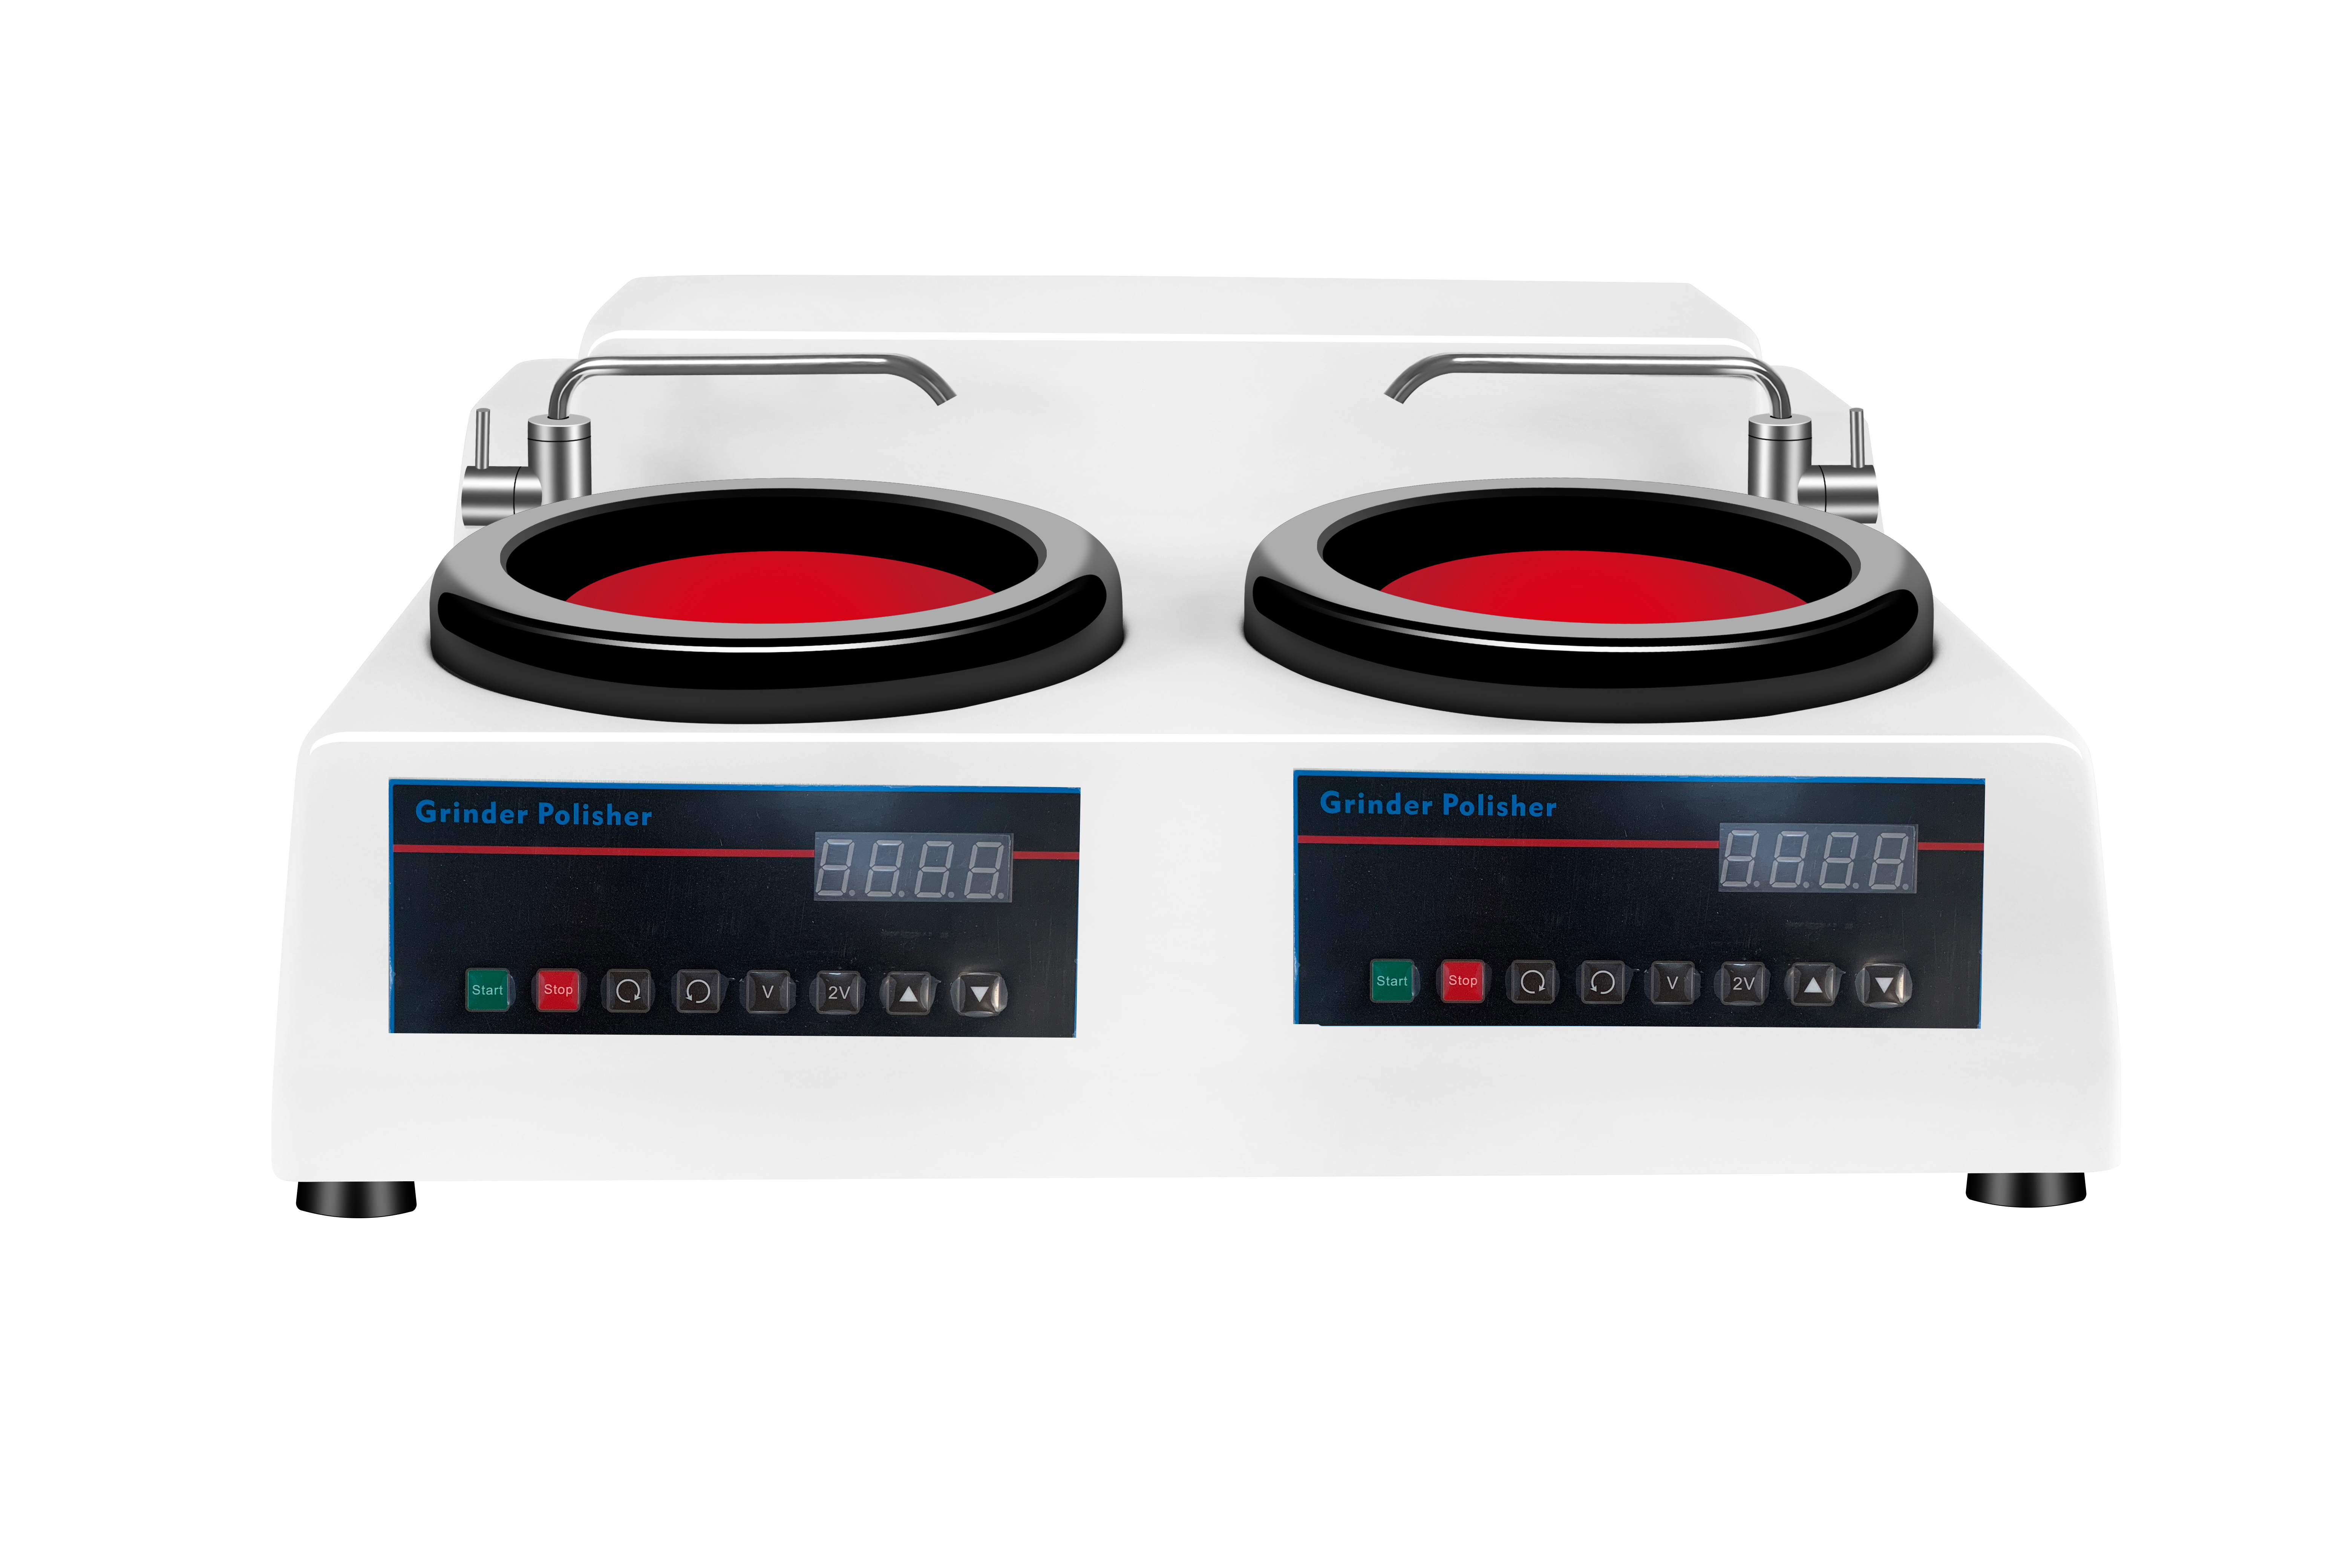
Figure 1: Even slight errors in velocity calibration can cause visible defects (left). The MP-2DE's precise velocity control provides consistent results (right).
Brown or black discoloration, especially on high-carbon steels or alloys, is more than just a cosmetic issue. Oxidation alters the sample's true microstructure, making phase identification nearly impossible. The culprit? Polishing for too long, combined with insufficient cooling.
Conventional machines often lack independent control of the two polishing plates, forcing you to process all samples for the same amount of time. The MP-2DE's dual-drive system allows you to set individual times for each polishing plate—3 minutes for softer materials, 5 minutes for harder alloys—without the risk of oxidation caused by prolonged rest periods. Paired with a water-cooled platen, this eliminates 90% of the risk of oxidation.
Tiny pits or dents often cluster in high-stress areas—the result of uneven pressure during polishing. Handheld polishing is notoriously inconsistent, even with automated systems.
The MP-2DE's adjustable pressure module (0.5–5 kg) ensures uniform force across the sample surface. For brittle materials like ceramics, 1–2 kg of pressure prevents cracking; for ductile metals like aluminum, 3–4 kg of pressure effectively removes material without deformation. Just like the technician, every time.
You can see a structure, but the details are fuzzy—the grain sizes are a mix, and inclusions are not obvious. This isn't a problem with the microscope, but rather an incomplete planarization . Your sample's surface isn't truly flat, so the light isn't refracted evenly by the lens.
The solution? The MP-2DE's variable orbital motion combines rotational and oscillatory movements, ensuring that every part of your sample remains in constant contact with the polishing surface. Imagine polishing a table—circular motion alone would leave swirls, but a slight back-and-forth movement ensures a perfectly flat surface. The result? Microstructures so clear you'll notice inclusions you'd never seen before.
Even with the right equipment, you need a reliable method to verify sample quality. Let’s follow ASTM E3-11 Standard Guide for Preparation of Metallographic Specimens – the gold standard for materials testing.
The surface of a metallographic specimen shall be sufficiently flat, smooth, and free from artifacts to reveal the true microstructure when examined under appropriate magnification. —ASTM E3-11, Section 7.2
Before using advanced microscopy, follow this three-step process to detect problems early:
Hold the sample at a 45° angle to the overhead light. Observe the following:
✅ Uniform reflection (no dark spots indicating oxidation)
✅ No visible scratches (even faint scratches will show up under magnification)
✅ Consistent edge retention (no rounded corners that indicate over-polishing)
At low power, scan the entire sample surface:
✅ Flatness (no “hills and valleys” distortion in the field of view)
✅ No large-scale artifacts (e.g. pull-outs in composites)
✅ Correct edge definition (critical for measuring grain size)
Focus on selecting a representative area to confirm:
✅ Clear grain boundaries (no drag or tug)
✅ Obvious phase contrast (e.g., ferrite and pearlite in steel)
✅ Inclusions and sediments resolved (no halos or blurring)
Pro Tip: Keep an electronic log of every successful sample. Take photos after each magnification, record your MP-2DE settings (speed, pressure, time, slurry type), and build your own material-specific database. Within three months, recurring failure rates will decrease by 60%—I've seen this in labs across industries, from automotive to aerospace.
Let's put this into practice. A leading aerospace laboratory recently experienced difficulties processing titanium alloy samples. They switched to the MP-2DE—and within six weeks, their success rate jumped from 45% to 92%. How? Thanks to the machine's ability to store over 20 custom programs. Now, their technicians simply select "Ti-6Al-4V" from the menu, and the machine automatically sets the speed (450 rpm), pressure (2.5 kg), and time (4 minutes). No more guesswork, and no more wasted material.
Another example: A university materials lab reduced the training time for doctoral students from 8 weeks to 2 weeks by standardizing on MP-2DE. Consistent results mean students can spend less time troubleshooting samples and more time analyzing data, shaving months off their research schedule.
Metallographic preparation is more than just a step in your workflow; it's the foundation for reliable results. Every flawed sample costs you time, material, and potentially even critical insights. The MP-2DE does more than just polish your samples; it transforms inconsistencies into repeatability, increasing your lab's productivity.
 Metallographic Sample Preparation
SQ-60 High-Efficiency Metal Cutting Machine
Data Stability
ASTM E3-11
Smart Cooling System
Metallographic Sample Preparation
Temperature Control Stability
Automatic Mounting Press
Sample Mounting Consistency
Thermosetting Resin Curing
Metallographic Sample Preparation
SQ-60 High-Efficiency Metal Cutting Machine
Data Stability
ASTM E3-11
Smart Cooling System
Metallographic Sample Preparation
Temperature Control Stability
Automatic Mounting Press
Sample Mounting Consistency
Thermosetting Resin Curing


