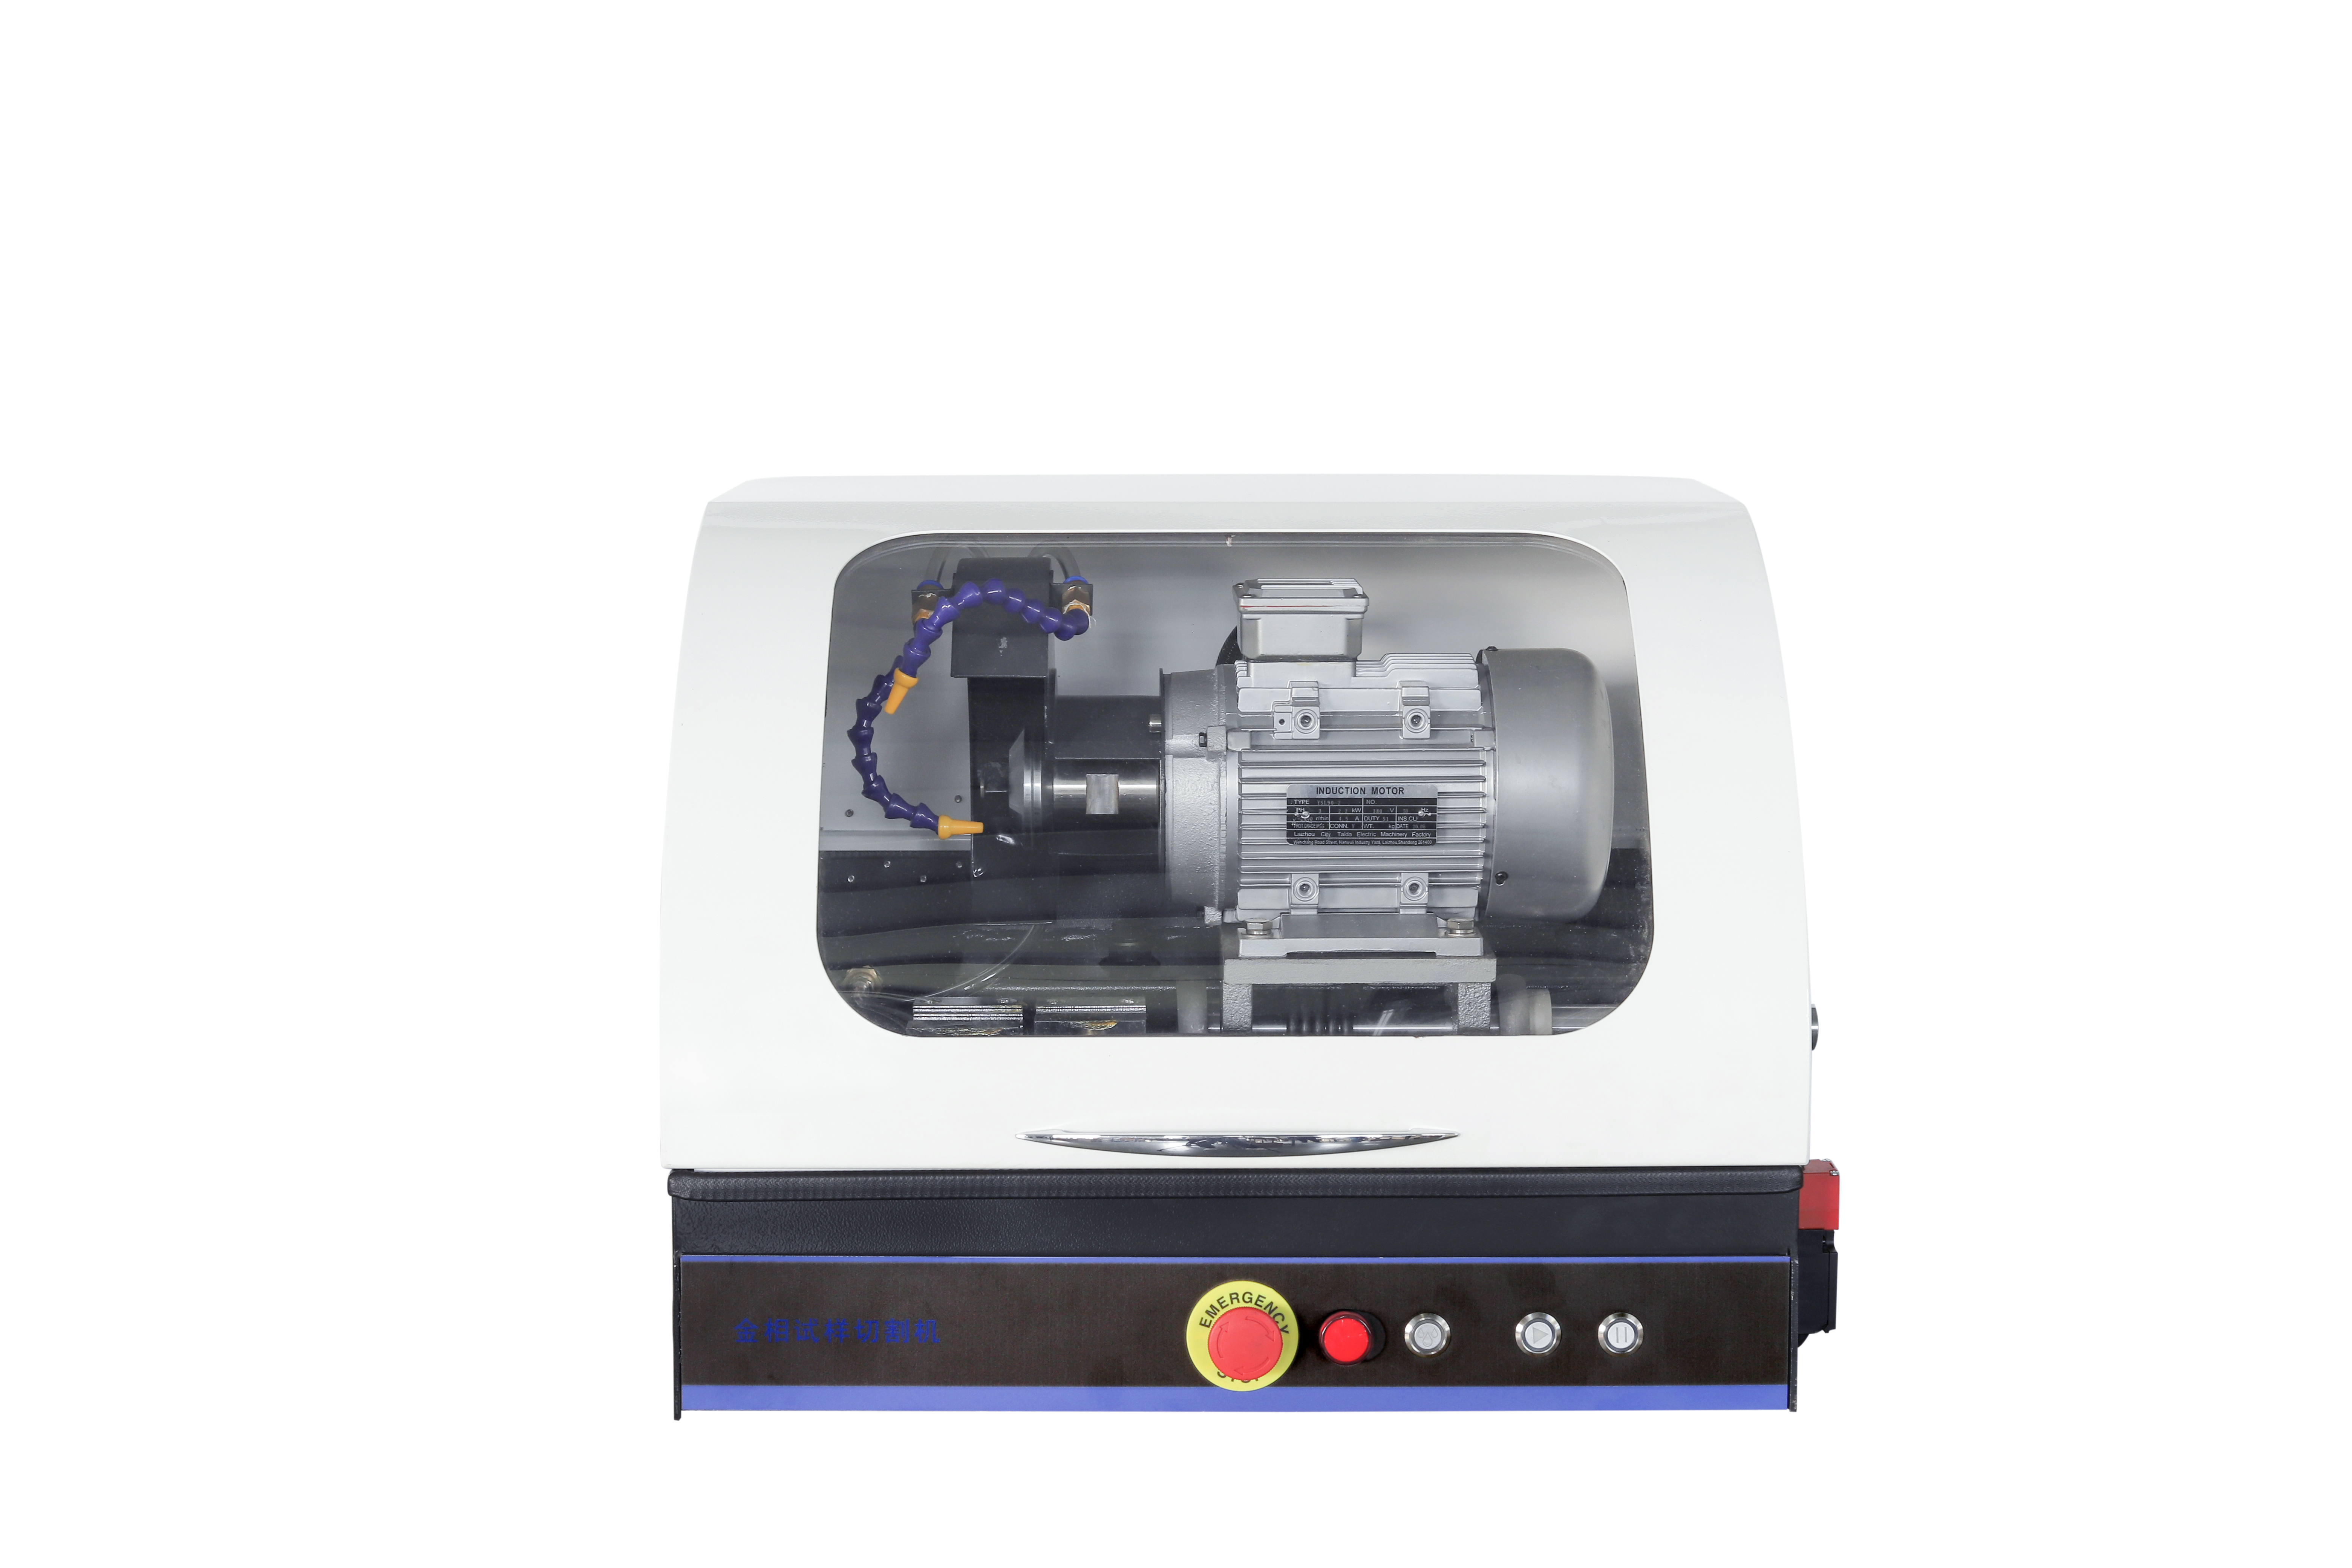
In materials science, metallographic analysis is a pillar of quality control, research, and innovation. However, even the most advanced microscopy and imaging techniques cannot compensate for flawed sample preparation. The integrity of metallographic data depends on the precision of the initial cutting process—a stage where thermal deformation, structural damage, and human error often compromise results. For laboratories and manufacturing facilities striving for international recognition, establishing a robust sample preparation system is not only a best practice but also a strategic imperative. This article explores how the SQ-60 high-efficiency metal cutting machine, developed by Laizhou Jincheng Industrial Equipment Co., Ltd., addresses these challenges through cutting-edge technology and compliance with global standards.
Data stability and repeatability are the cornerstones of reliable metallographic analysis. A study published in the Journal of Materials Science and Technology indicates that over 35% of the variance in metallographic test results can be attributed to inadequate sample preparation, with thermal deformation and surface irregularities being the primary causes. For industries like aerospace and automotive manufacturing, where material properties directly impact safety, such inconsistencies can lead to costly rework, production delays, and even catastrophic failures.
For example, a leading automotive parts manufacturer reported that 22% of its metallographic test retests were due to sample preparation errors, costing over $150,000 annually in wasted material and labor. These statistics highlight a key reality: investing in precision sample preparation equipment is not an expense, but a cost-saving measure.
The core of reliable metallographic sample preparation lies in the cutting process. The balance between speed and accuracy determines the quality of subsequent analysis. The SQ-60 high-efficiency metal cutting machine redefines this balance through two proprietary technologies: an intelligent cooling system and high-precision power transmission.

Traditional cutting machines often rely on manual coolant adjustment, resulting in uneven temperature distribution and thermal damage to the sample microstructure. The SQ-60's intelligent cooling system addresses this issue by dynamically adjusting coolant flow and temperature based on material type, thickness, and cutting speed. Equipped with a real-time temperature sensor and variable frequency pump, the system maintains an optimal temperature range of 20-25°C during operation, reducing thermal deformation by up to 40% compared to traditional machines. This translates to a 35% improvement in edge integrity, a key factor in accurate grain size analysis and phase identification.
Even with effective cooling, mechanical instability can cause vibrations that affect cutting accuracy. The SQ-60's integrated servo-driven power transmission system and backlash-free gearbox ensure cutting accuracy of ±0.01 mm, three times the industry average of ±0.03 mm. This accuracy is particularly important for brittle materials or samples with complex geometries, as even slight deviations can render subsequent polishing and etching steps ineffective.
For laboratories seeking international accreditation, compliance with standards such as ASTM E3-11 (Standard Guide for Preparation of Metallographic Specimens) and ISO 14607 (Metallographic Examination — Preparation of Test Specimens) is essential. These standards emphasize the need to document repeatable processes to ensure comparability of results across laboratories.
The SQ-60 simplifies regulatory compliance through its integrated process documentation system, which automatically records cutting parameters (speed, pressure, coolant flow), environmental conditions, and operator ID for each sample. This data can be exported to CSV format, facilitating the audit trail required for ISO/IEC 17025 certification. A recent case study with a European automotive testing laboratory demonstrated that implementing SQ-60 reduced certification preparation time by 28% by eliminating manual data entry errors.
A leading materials science department at a US university was struggling with inconsistent results during a nickel-based superalloy research project. By switching to the SQ-60, the team saw a 42% reduction in data variability during grain size measurement, accelerating the publication of their findings in the journal Acta Materialia . Lead researcher Dr. Elena Richards noted, "The accuracy of the SQ-60 has completely transformed our research workflow. We now spend less time validating our results and more time analyzing them."
An ISO 17025-accredited UK testing laboratory faced pressure to increase sample throughput while maintaining stringent quality standards. By replacing three conventional cutters with two SQ-60 cutters, the lab increased its daily sample throughput by 35% (from 45 to 61 samples/day) while reducing rework from 18% to 5%. "The intelligent cooling system has revolutionized high-volume testing," said Mark Thompson, lab manager. "We no longer have to sacrifice quality for speed."
| Performance Indicators | SQ-60 high efficiency cutting machine | Traditional cutting machine |
|---|---|---|
| Thermal deformation rate | ≤0.05 mm | 0.15-0.25 mm |
| Cutting accuracy | ±0.01 mm | ±0.03-±0.05 mm |
| Surface roughness (Ra) | ≤0.8μm | 1.2-2.0μm |
| Compliant with ASTM/ISO standards | Fully compliant with ASTM E3-11 and ISO 14607 standards | Partially compliant; manual process control required |
Q: How does the SQ-60 adapt to different material types?
A: The machine has 12 pre-programmed material profiles (including steel, aluminum, titanium, and ceramics) with adjustable parameters. For custom materials, operators can save and recall their own parameter sets, ensuring consistency in repeated testing.
Q: What maintenance is required to keep the SQ-60 performing at its best?
A: Routine maintenance is minimal: The intelligent cooling system includes a self-cleaning filter, reducing manual cleaning to every 500 samples, and the power transmission system only requires lubrication every 2,000 operating hours—half the frequency of conventional machines. As materials science continues to advance, so does the demand for accurate and reliable metallographic analysis. Labs and manufacturing facilities that prioritize data stability and compliance today will be at the forefront of future innovation. The SQ-60 high-performance metal cutting machine is more than just a tool; it's a strategic investment in the integrity of your work, ensuring every sample clearly and accurately reveals the properties of the materials that drive our world forward.

